Installing solar pathway lights can greatly enhance your outdoor space. However, when dealing with hard clay soil, this task becomes challenging. Understanding how to install solar pathway lights in hard clay soil is essential for achieving success. The right techniques can make a significant difference in the installation process.
Clay soil is notoriously dense and difficult to work with. It often requires special tools and methods to create a suitable environment for installation. Many homeowners struggle with this task, leading to poorly placed lights and wasted time. Drawing from experience, proper site preparation and selection of the right tools are crucial.
Choosing an appropriate location for your lights is just as essential. Survey the area for sunlight exposure and visual appeal. Resist the temptation to rush through the installation. It may seem daunting, but finding the right approach can lead to a successful project. With persistence and the right knowledge, installing solar pathway lights in hard clay soil can become a manageable task.
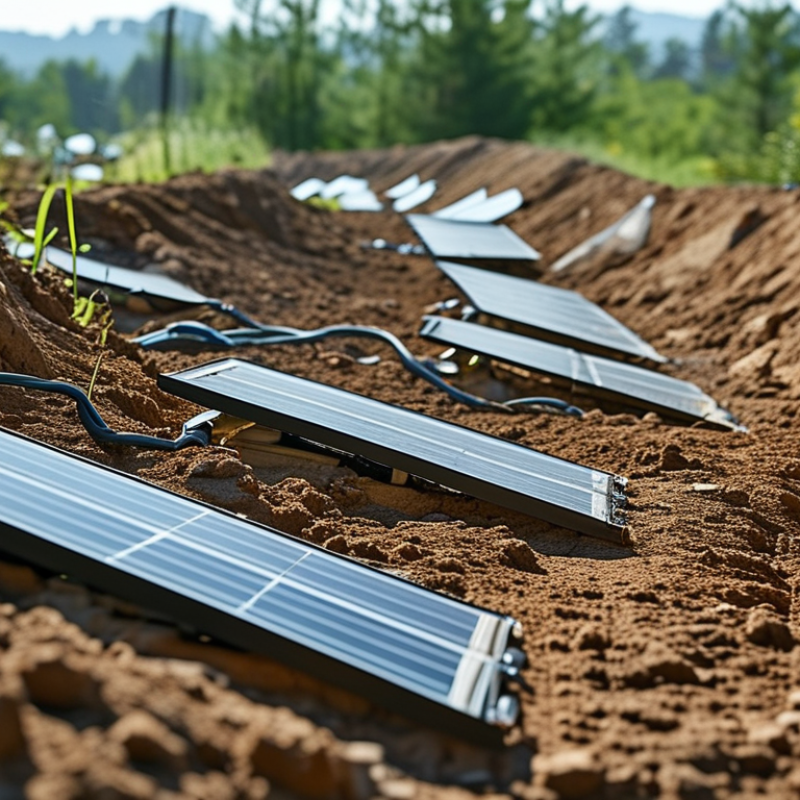
When selecting solar pathway lights for hard clay soil, it's crucial to consider their design and installation requirements. Hard clay soil can be challenging to work with due to its density and poor drainage properties. According to the U.S. Department of Agriculture, about 20% of the U.S. land comprises clay soil. This specific characteristic can hinder the installation of traditional pathway lights, making it essential to choose models that are designed for tougher conditions.
Opt for solar lights that feature spikes or mounting systems capable of penetrating clay. The depth of installation matters significantly; shallow-rooted spikes may not withstand the pressure of clay, especially during seasonal shifts. Additionally, look for lights with heavier bases or broader feet for stability. A study from the National Renewable Energy Laboratory indicates that lights with sturdy fixtures tend to last longer in adverse conditions.
While aesthetics are important, functionality should take precedence. Some solar lights may not perform well at night, especially if they are influenced by surrounding landscaping. Understanding where to place lights can enhance their performance. Analyze the area for sunlight exposure; lights positioned in shadows will gather less energy. Improving your setup may require trial and error, but persistence ensures better illumination for your pathways over time.
When preparing the installation site for solar pathway lights in hard clay soil, proper preparation is essential. Hard clay can be challenging to work with. It often lacks drainage and can become compacted. According to the American Society of Landscape Architects, soil conditions significantly impact plant and light performance.
Start by identifying the best areas for installation. Choose spots where sunlight exposure is maximum. Solar lights require direct sunlight for optimal charging. Next, consider modifying the soil condition. Loosening the hard clay can help. Use a garden spade or tiller to break up the compacted soil. Reported studies suggest that mixing organic compost with clay can enhance drainage and aeration, fostering a healthier environment for solar lights.
Additionally, while installing, ensure that the selected path is clear of obstructions. This might include roots, rocks, or other debris. Even with optimal conditions, installation can still present challenges. The lights may not function as expected if not placed correctly. Regular monitoring and adjustments may be necessary to improve performance.
Installing solar pathway lights in hard clay soil can be tricky, but effective techniques do exist. Start by assessing the area where you intend to place the lights. If the clay is particularly dense, consider using a post-hole digger or a small shovel. These tools can help break through tough earth. It may require some elbow grease, but a little patience goes a long way.
After digging the holes, make sure they are deep enough to accommodate the solar lights securely. It’s crucial to space them appropriately to maximize sunlight exposure. Placing them too close together or too far apart can diminish their effectiveness. Once the lights are positioned, you might want to add a bit of sand to the bottom of each hole. This helps with drainage, as clay soil can retain water.
Consider also the angle at which you install the lights. A slight tilt facing south can increase solar absorption. If you notice any issues with stability, use small rocks or gravel around the base of the lights. This can help anchor them in that stubborn clay soil. Even with these strategies, installation might not go perfectly. Be prepared to make adjustments. Adapting may lead to better results in the long run.
Installing solar pathway lights in hard clay soil presents a few challenges. The dense nature of clay can make it difficult for solar lights to stay upright. Also, adding a layer of mulch might not provide enough support. Taking the time to secure your lights properly is vital for long-term stability.
One effective method is to use a sturdy post hole digger. This allows you to create a proper base for your lights. Digging a deep enough hole helps anchor the lights firmly. Always check the depth before placing the light. If the ground is particularly hard, you may need to moisten the soil before digging.
Another tip is to consider using landscape spikes. These are designed to penetrate tough soil and provide extra stability for your lights. Simply hammer the spike into the ground next to the light anchor. This can prevent the lights from tilting or toppling over. Make sure to regularly monitor their position, especially after heavy rains. You might need to adjust them as the soil shifts.
| Method | Description | Tools Required | Pros | Cons |
|---|---|---|---|---|
| Digging Holes | Manually dig holes for each solar light, making sure to go deep enough for stability. | Shovel, post hole digger, level. | Custom depth for each light, effective in hard soil. | Labor-intensive, time-consuming. |
| Using a Power Auger | Utilize a power auger to drill holes quickly into hard clay. | Power auger, extension cord, level. | Fast installation, consistent hole size. | Requires equipment rental, can be heavy. |
| Concrete Stabilization | Pour concrete in the holes to secure the solar lights and prevent shifting. | Concrete mix, water, shovel, level. | Highly stable, durable against weather changes. | Takes time to cure, more expensive. |
| Adding Gravel | Mix gravel into the clay at the base of the holes before inserting lights for improved drainage. | Gravel, shovel, level. | Improved drainage, helps with stability. | Additional material cost, requires careful placement. |
| Using Anchoring Stakes | Install anchoring stakes in the clay to help secure lights against wind. | Anchoring stakes, hammer. | Easy to install, improves stability. | May not work well in very dry or very wet conditions. |
| Flexible Solar Light Design | Opt for flexible solar lights that can adjust to unstable soil conditions. | Flexible solar lights. | Can withstand movement, low maintenance. | Possibly lower light quality or output. |
Installing solar pathway lights in hard clay soil can be challenging. Regular maintenance is crucial. Moisture can hinder the installation and efficiency of these lights. Always check if the soil is dry enough for digging. Use a handheld auger to create holes for the lights. If the clay is too compact, you might consider softening it with water. This doesn’t always work perfectly, so be patient and persistent.
Lighting placement is important too. Spacing the lights evenly enhances both aesthetics and functionality.
Once installed, monitor the lights regularly. Diligently clean the solar panels from dust and debris. Obstructions block sunlight. Lack of light causes decreased effectiveness. Consider the changes in weather and seasons. Heavy rains might erode the soil, relegating the lights to unstable positions. Explore repositioning if they become loose. Additionally, observe for any damage after storms. Repair or replace any malfunctioning units swiftly.
Maintaining the soil around the lights is important. Adding mulch can help retain moisture and improve soil quality. This nourishes the clay, making future maintenance easier. However, it can also attract pests. Be ready to address any pest issues. Lastly, keep in mind that conditions can vary. What works well in one area may not suit another. Adapt your techniques as needed, and your pathway lights will shine brightly.
: Look for lights designed with spikes or sturdy mounting systems to penetrate the dense clay effectively.
Shallow spikes may not hold up against the pressure of hard clay, especially with seasonal changes.
Place them in areas with ample sunlight exposure and avoid shadowy spots to maximize energy gathering.
Regularly check for moisture levels, clean solar panels, and monitor for any damage, especially after storms.
Adding mulch can help retain moisture but be cautious of potential pest attraction.
You may need to soften it with water, but results can vary, so patience is key.
Reposition them as needed, especially after heavy rains that might destabilize their setup.
Not ensuring the soil is dry enough for digging can hinder the installation process.
While aesthetics matter, functionality and performance should take priority for effective illumination.
Lack of maintenance can lead to decreased effectiveness due to dust, debris, or unstable positioning.
Installing solar pathway lights in hard clay soil can be a challenging task, but with the right techniques and preparations, it can be accomplished effectively. First, it is crucial to choose the appropriate solar pathway lights specifically designed for such conditions. Preparing the installation site involves clearing debris and assessing the soil quality to identify the best locations for the lights.
When learning how to install solar pathway lights in hard clay soil, employing specific digging techniques is important to effectively break through the compacted earth. Positioning the lights securely and ensuring their stability are essential to prevent shifting due to soil movement. Lastly, regular maintenance, including checking for any soil erosion or light displacement, will help ensure the longevity and functionality of the solar lights in challenging soil conditions.

Zeteo Light