A loose cable can turn a bright solar flood light into a flickering, unreliable fixture. Moisture may enter the connector. Vibration can loosen a terminal. Small mistakes during installation can also create resistance, heat, and reduced brightness. Understanding how to fix a loose connection in a solar flood light cable begins with careful inspection, not guesswork.
Solar lighting technician Michael R. Lewis advises, “A secure connection should withstand a gentle pull before the light is reassembled.” His practical warning reflects field experience with outdoor fixtures exposed to wind, rain, insects, and temperature changes. This guide explains how to switch off the light, examine damaged insulation, clean safe contacts, and tighten or replace the appropriate connector. It also shows why waterproof cable glands and heat-shrink protection matter near wet ground.
Do not rush this repair.
A connector may look connected while its metal contact remains loose inside. That hidden weakness can cause intermittent lighting after several nights. A multimeter can help confirm continuity, but testing should follow the manufacturer’s instructions. Damaged cables should not be wrapped casually with household tape. That approach may hold briefly, then fail in rain. I have found that even experienced installers sometimes overlook strain on the cable near the panel or lamp housing. Rechecking that area is worthwhile.
The goal is not merely restoring light for one evening. It is creating a stable, weather-resistant connection that supports safe, dependable operation through changing seasons.
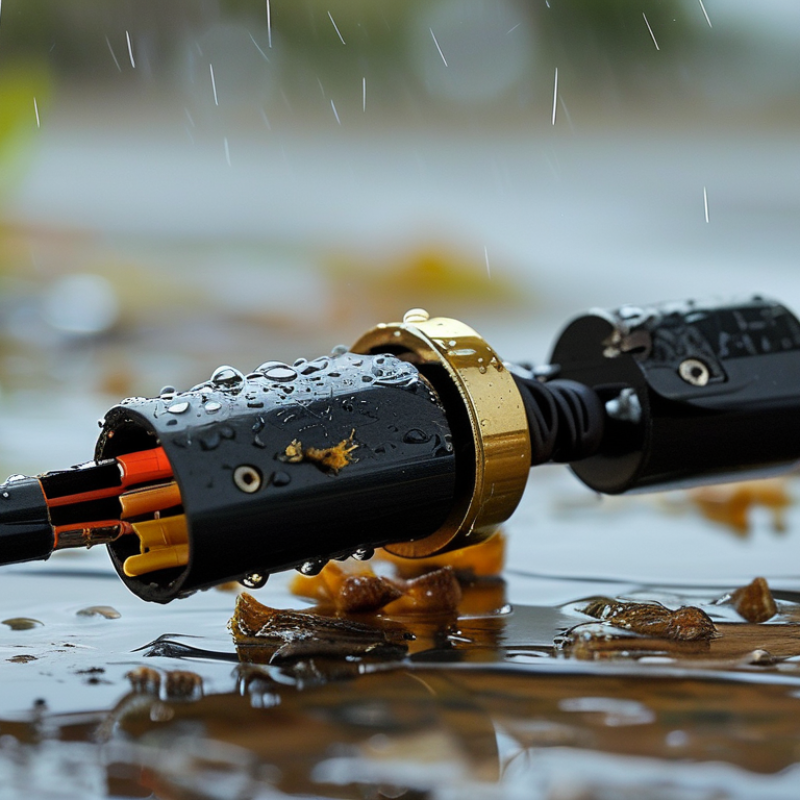
How to Fix a Loose Connection in a Solar Flood Light Cable
Identify the cause before tightening anything. Start safely. Turn off the light and disconnect the solar panel or battery. Look closely at the cable joint, especially where the wire enters the housing.
A loose screw terminal may show movement when gently pulled. Corrosion often appears as green, white, or dark residue around exposed copper. Moisture can collect inside a cracked connector after rain. A cable damaged by bending may have broken strands beneath an undamaged outer jacket. Do not guess. Use a digital multimeter to check continuity while moving the cable lightly. If the reading changes, the conductor or terminal is probably unstable.
My field experience suggests that many connection failures begin with poor strain relief. Wind repeatedly moves the cable, and the connector carries the force. Remove power, then inspect the terminal for loose screws, damaged insulation, or burnt marks. Clean light corrosion with a suitable electrical contact cleaner. Replace badly corroded connectors rather than covering them with tape. Crimp a weather-resistant connector onto clean, properly stripped wire, and avoid crushing the copper. Test the connection before sealing the enclosure. I once tightened a terminal without checking the cable length; tension returned within days. That mistake was preventable. Leave a small service loop, keep the joint above standing water, and seal the entry point with an outdoor-rated cable gland. Poor sealing remains a common cause of repeat failure.
Switch off the flood light before touching its cable. Cover the solar panel with an opaque cloth, then disconnect the battery if accessible. Even a small panel can produce voltage in bright sunlight. Allow the circuit to rest for several minutes. Never pull a connector by its wire.
Check the cable near the lamp, battery box, and mounting bracket. Look for cracked insulation, green corrosion, bent pins, water droplets, or a connector that moves freely. A loose plug may cause flickering, weak brightness, or overnight failure. Press compatible connectors together until fully seated. Do not force mismatched parts. Replace damaged cable sections with weather-rated components and restore the seal carefully. A dry connector is essential, but people often underestimate moisture trapped inside.
The IEA PVPS Task 13 reliability research reports typical photovoltaic degradation near 0.5% per year. That figure concerns system output, not one loose cable, but it shows why outdoor exposure deserves regular inspection. Thermal cycling, humidity, and cable movement can gradually weaken connections. My practical rule is simple: inspect before tightening. A visual check alone is not proof.
Tips: Clean contacts only when power is off and the connector is dry. Use insulated tools and keep metal objects away from terminals. After repair, test the light at night and gently move the cable. If brightness changes, stop using it and ask a qualified electrician to assess the circuit.
A loose cable can make a solar flood light flicker, dim, or stop working after rain. I first blamed the panel on one repair; I was wrong. The real problem was a terminal screw that had loosened under repeated wind movement. Turn off the light and disconnect its battery before checking anything. Examine the cable near the lamp, junction box, and solar panel. Look for pulled insulation, green corrosion, crushed sections, or exposed copper.
If the wire is intact, tighten the terminal firmly with the correct screwdriver. Do not force it, because damaged threads can create another weak connection. A loose crimp terminal should be removed and replaced with a suitable, outdoor-rated terminal. Strip only the required insulation length. Too much exposed copper invites corrosion. Keep the connection clean and secure.
Replace any cable with deep cuts, brittle insulation, or blackened copper. A waterproof plug also needs careful inspection. Its sealing ring should sit evenly, without twists or gaps. Replace cracked plugs instead of wrapping them with ordinary tape. I once used too much sealant around a connector, making later maintenance difficult. That was poor practice. Use a compatible waterproof replacement, tighten it evenly, and leave a gentle cable loop to reduce tension. Test the light after reconnecting the battery, then observe it through one full rainy night.
A loose connection in a solar flood light cable can quickly become an outdoor failure. Turn off the light and disconnect the battery before touching the wiring. Check for loose terminals, cracked insulation, green corrosion, or water trapped inside the connector. If the copper looks dark or brittle, cut back to clean metal. A tight connection is not enough. Moisture protection matters more.
Join the wires with a suitable outdoor-rated connector, then cover the joint with adhesive-lined heat-shrink tubing. Warm it evenly until the sealant lightly appears around both ends. Do not overheat the cable. The repaired area must be completely dry before sealing. For extra protection, place the connection inside a weatherproof junction enclosure. Keep it above ground, away from puddles, and create a small downward drip loop so rain cannot run toward the joint. Use UV-resistant materials, because sunlight can weaken ordinary tape.
Tips: Leave no exposed copper. Avoid wrapping wet wires. Check the seal after heavy rain. I once trusted electrical tape alone, and the connection failed again within weeks. That mistake is easy to repeat. Test the light before closing the enclosure, then inspect it after one or two nights outside. A sealed repair can still fail if the cable is pulled tightly or the enclosure allows water entry. Replace badly corroded connectors rather than hiding the damage.
| Step | Work Stage | What to Check or Do | Recommended Materials or Values | Completion Standard | Outdoor Protection |
|---|---|---|---|---|---|
| 1 | Isolate the Circuit | Turn off the solar flood light, disconnect the battery or controller connector, and cover the solar panel to reduce charging current. | Use insulated tools rated for the system voltage. Confirm that no voltage remains before handling the cable. | No measurable voltage at the repair point. | Keep the open connection away from rain, dew, and standing water during the repair. |
| 2 | Locate the Loose Connection | Inspect the cable entry, plug, crimp terminal, inline connector, and areas exposed to bending or vibration. Gently pull each conductor to identify movement. | A loose terminal may show intermittent operation, flickering, voltage drop, corrosion, or heating under load. | The faulty joint or connector is clearly identified before cutting. | Pay special attention to low points where water can collect and to cable sections resting directly on metal. |
| 3 | Remove Damaged Parts | Cut back to clean, bright copper. Remove oxidized wire, cracked insulation, loose crimp sleeves, and damaged connectors. | Use a cable cutter and wire stripper sized for the conductor. Do not nick or reduce the copper strands. | Copper strands are clean, intact, and free from green or black oxidation. | Do not seal corrosion inside the joint; moisture trapped beneath insulation can continue the damage. |
| 4 | Prepare the Cable | Slide heat-shrink tubing onto one cable end before joining the conductors. Strip only the length required by the splice or terminal. | Use outdoor-rated, adhesive-lined heat-shrink tubing. The tubing must overlap sound insulation on both sides of the repair. | No exposed conductor remains outside the splice after shrinking. | Choose tubing with an internal diameter suitable for the assembled joint, not just the bare wire. |
| 5 | Make the Electrical Joint | Join matching conductors with a correctly sized sealed crimp connector or a properly secured terminal. Maintain correct polarity on DC circuits. | Match the connector to the conductor cross-sectional area and insulation diameter. Typical small solar-light cables commonly use approximately 0.5–1.5 mm² conductors, but the installed cable size must be verified. | The joint passes a firm pull test and has no loose strands or exposed copper. | Never rely on twisting wires together or wrapping the joint with ordinary electrical tape alone. |
| 6 | Seal the Repair | Center the adhesive-lined heat-shrink over the joint and heat it evenly from the center toward both ends until the adhesive flows and the tubing grips the insulation. | Use a controlled heat source. Avoid an open flame, overheating, or shrinking directly against plastic housings. | The seal is continuous, smooth, and bonded at both ends without burns or gaps. | A waterproof splice requires a complete seal around the cable jacket; tape over an unsealed joint is not equivalent. |
| 7 | Add Mechanical Support | Secure the cable near the repair with UV-resistant cable clips or ties. Leave a small service loop and prevent the joint from carrying cable weight. | Maintain a gentle bend radius; avoid sharp bends, crushing, and repeated flexing at the sealed splice. | The repaired connection does not move when the cable is lightly handled. | Route the cable downward from the enclosure where practical to create a drip loop and reduce water tracking. |
| 8 | Test the Circuit | Reconnect the battery or controller, uncover the solar panel, and test the light during both charging and operating conditions. | Check polarity, brightness, charging indication, connector temperature, and voltage drop under normal load. | The light operates consistently without flicker, abnormal heating, or an intermittent fault. | Inspect the seal after the first rain or watering cycle and correct any sign of water entry. |
| 9 | Final Inspection | Confirm that the cable is protected from sharp edges, direct abrasion, prolonged pooling, and unnecessary sunlight exposure. | Use UV-resistant conduit or protective sleeving where the cable passes through metal, masonry, or high-abrasion areas. | The connection remains dry, supported, and free from visible cable stress. | Use only enclosures, connectors, and glands with an outdoor ingress-protection rating suitable for the installation. |
China Top How to Fix a Loose Connection in Solar Flood Light Cable?
A loose solar flood light cable often causes flickering, weak brightness, or nighttime failure. Turn off the light and cover the panel before inspection. Check the connector, cable jacket, and terminal for moisture, corrosion, or pulled wires. A damaged cable should be replaced, not simply twisted together. Use a compatible waterproof connector and secure it firmly without crushing the insulation.
Test the Solar Flood Light and Prevent Future Cable Loosening
After reconnecting, charge the unit in direct sunlight. Cover the solar panel to simulate darkness, then check the lamp for steady output. A multimeter can verify voltage, but follow the equipment instructions carefully. The IEA PVPS Trends 2024 report recorded more than 1.6 terawatts of global solar capacity by the end of 2023. That growth makes reliable outdoor connections increasingly important. IEC 60529 guidance also highlights suitable ingress protection for wet environments. I once found a cable that looked secure but failed after light rain. The clamp had loosened slightly. My first repair was too quick.
Tips: Add a strain-relief clip near the connection. Keep the connector above standing water. Inspect it every three months. Avoid sharp bends and tight cable loops. Recheck the connection after heavy wind or freezing weather. A small label can record the inspection date. This simple habit is easy to forget.
: Wind movement, vibration, and repeated weather exposure can loosen terminal screws. The lamp may flicker or become dim. Rain can expose the weakness.
Turn off the light and disconnect its battery. Check the cable near the lamp, junction box, and solar panel. Look for cuts, green corrosion, crushed insulation, or exposed copper.
Yes, if the wire and terminal remain undamaged. Use the correct screwdriver and tighten firmly. Do not force the screw. Damaged threads need replacement.
Replace cables with deep cuts, brittle insulation, or blackened copper. Replace loose crimp terminals with suitable outdoor-rated parts. Do not hide serious corrosion.
Use a compatible outdoor-rated connector. Cover the joint with adhesive-lined heat-shrink tubing. The wire must be completely dry first. Warm the tubing evenly.
Usually, no. Tape alone may allow moisture inside after several weeks. Use UV-resistant materials and suitable waterproof protection. I once trusted tape alone. That repair failed.
Place the connection inside a weatherproof enclosure. Keep it above puddles and standing water. Add a small downward drip loop. Leave a gentle cable loop for strain relief.
Reconnect the battery and charge the unit in direct sunlight. Cover the solar panel to simulate darkness. The lamp should produce steady light. Observe it through a rainy night if possible.
Add a strain-relief clip near the connection. Avoid sharp bends and tight cable loops. Inspect the cable every three months. Recheck it after strong wind or freezing weather. A small inspection label helps, though I sometimes forget it.
Fixing a loose connection in a solar flood light cable starts with identifying the source of the problem. Common causes include loose terminals, damaged wires, worn connectors, or moisture entering the cable joint. Before inspecting anything, switch off the light and disconnect its power source to work safely. Examine the cable, terminals, and waterproof plugs for corrosion, cracks, fraying, or signs of movement. Tighten secure connections carefully, and replace any damaged wires, terminals, or plugs rather than forcing them back into place.
After the repair, protect the connection from rain, humidity, dust, and outdoor temperature changes by using suitable waterproof sealing materials and ensuring every cover is firmly closed. Restore power and test the solar flood light during both charging and lighting cycles to confirm stable operation. Regularly inspect the cable, keep it supported and free from sharp bends, and check the sealing points after severe weather. These steps explain how to fix a loose connection in a solar flood light cable while helping prevent the same issue from returning.

Zeteo Light